Hey! It’s been a while. I know I promised posts either about my upgrades to Tohru or my dive into mechanical keyboards, but this one is neither of those. Instead, I’m going to take you through the journey I’ve had over the last two months building a Windows XP gaming PC setup—complete with period-correct hardware (mostly).
It all started about six months ago when my mom called with an offer: “Oh, my work is getting rid of a few older computers, do you want them?” Being a bit of a tech hoarder lately, I, of course, said yes. Two weeks later, she shows up at my house with three desktops and a box of spare parts. At first, it seemed like a nice score, but these were all Windows 7/8-era Dells with 4th-gen Intel Core CPUs and DDR3 RAM—not exactly top-of-the-line by today’s standards. But hey, for free? I had some ideas for projects, and these would be perfect for messing around with.
After opening them up, I saw that two of the machines had i5 CPUs and one had an i7, with a mishmash of RAM. The box of spare parts also had another i5, more RAM, an Nvidia Quadro (model unknown), and two 2TB hard drives. I thought, “Yeah, I can definitely do something with these.” The first project I decided on was turning the i7 machine into a media PC for the living room. I popped in 16GB of RAM and a 500GB SSD I had lying around, just to see if everything worked. After a quick boot into the BIOS, everything seemed fine—except for the stock Dell case.
So, I decided to swap out the case for a small form factor one I had laying around. But, of course, Dell being Dell, the PSU cables didn’t quite reach the new case layout. Long story short, that project is still sitting unfinished in my basement.
Then, about two months ago, my mom called again, saying they found one more machine. I was almost about to say no, but she sent me a picture of this:
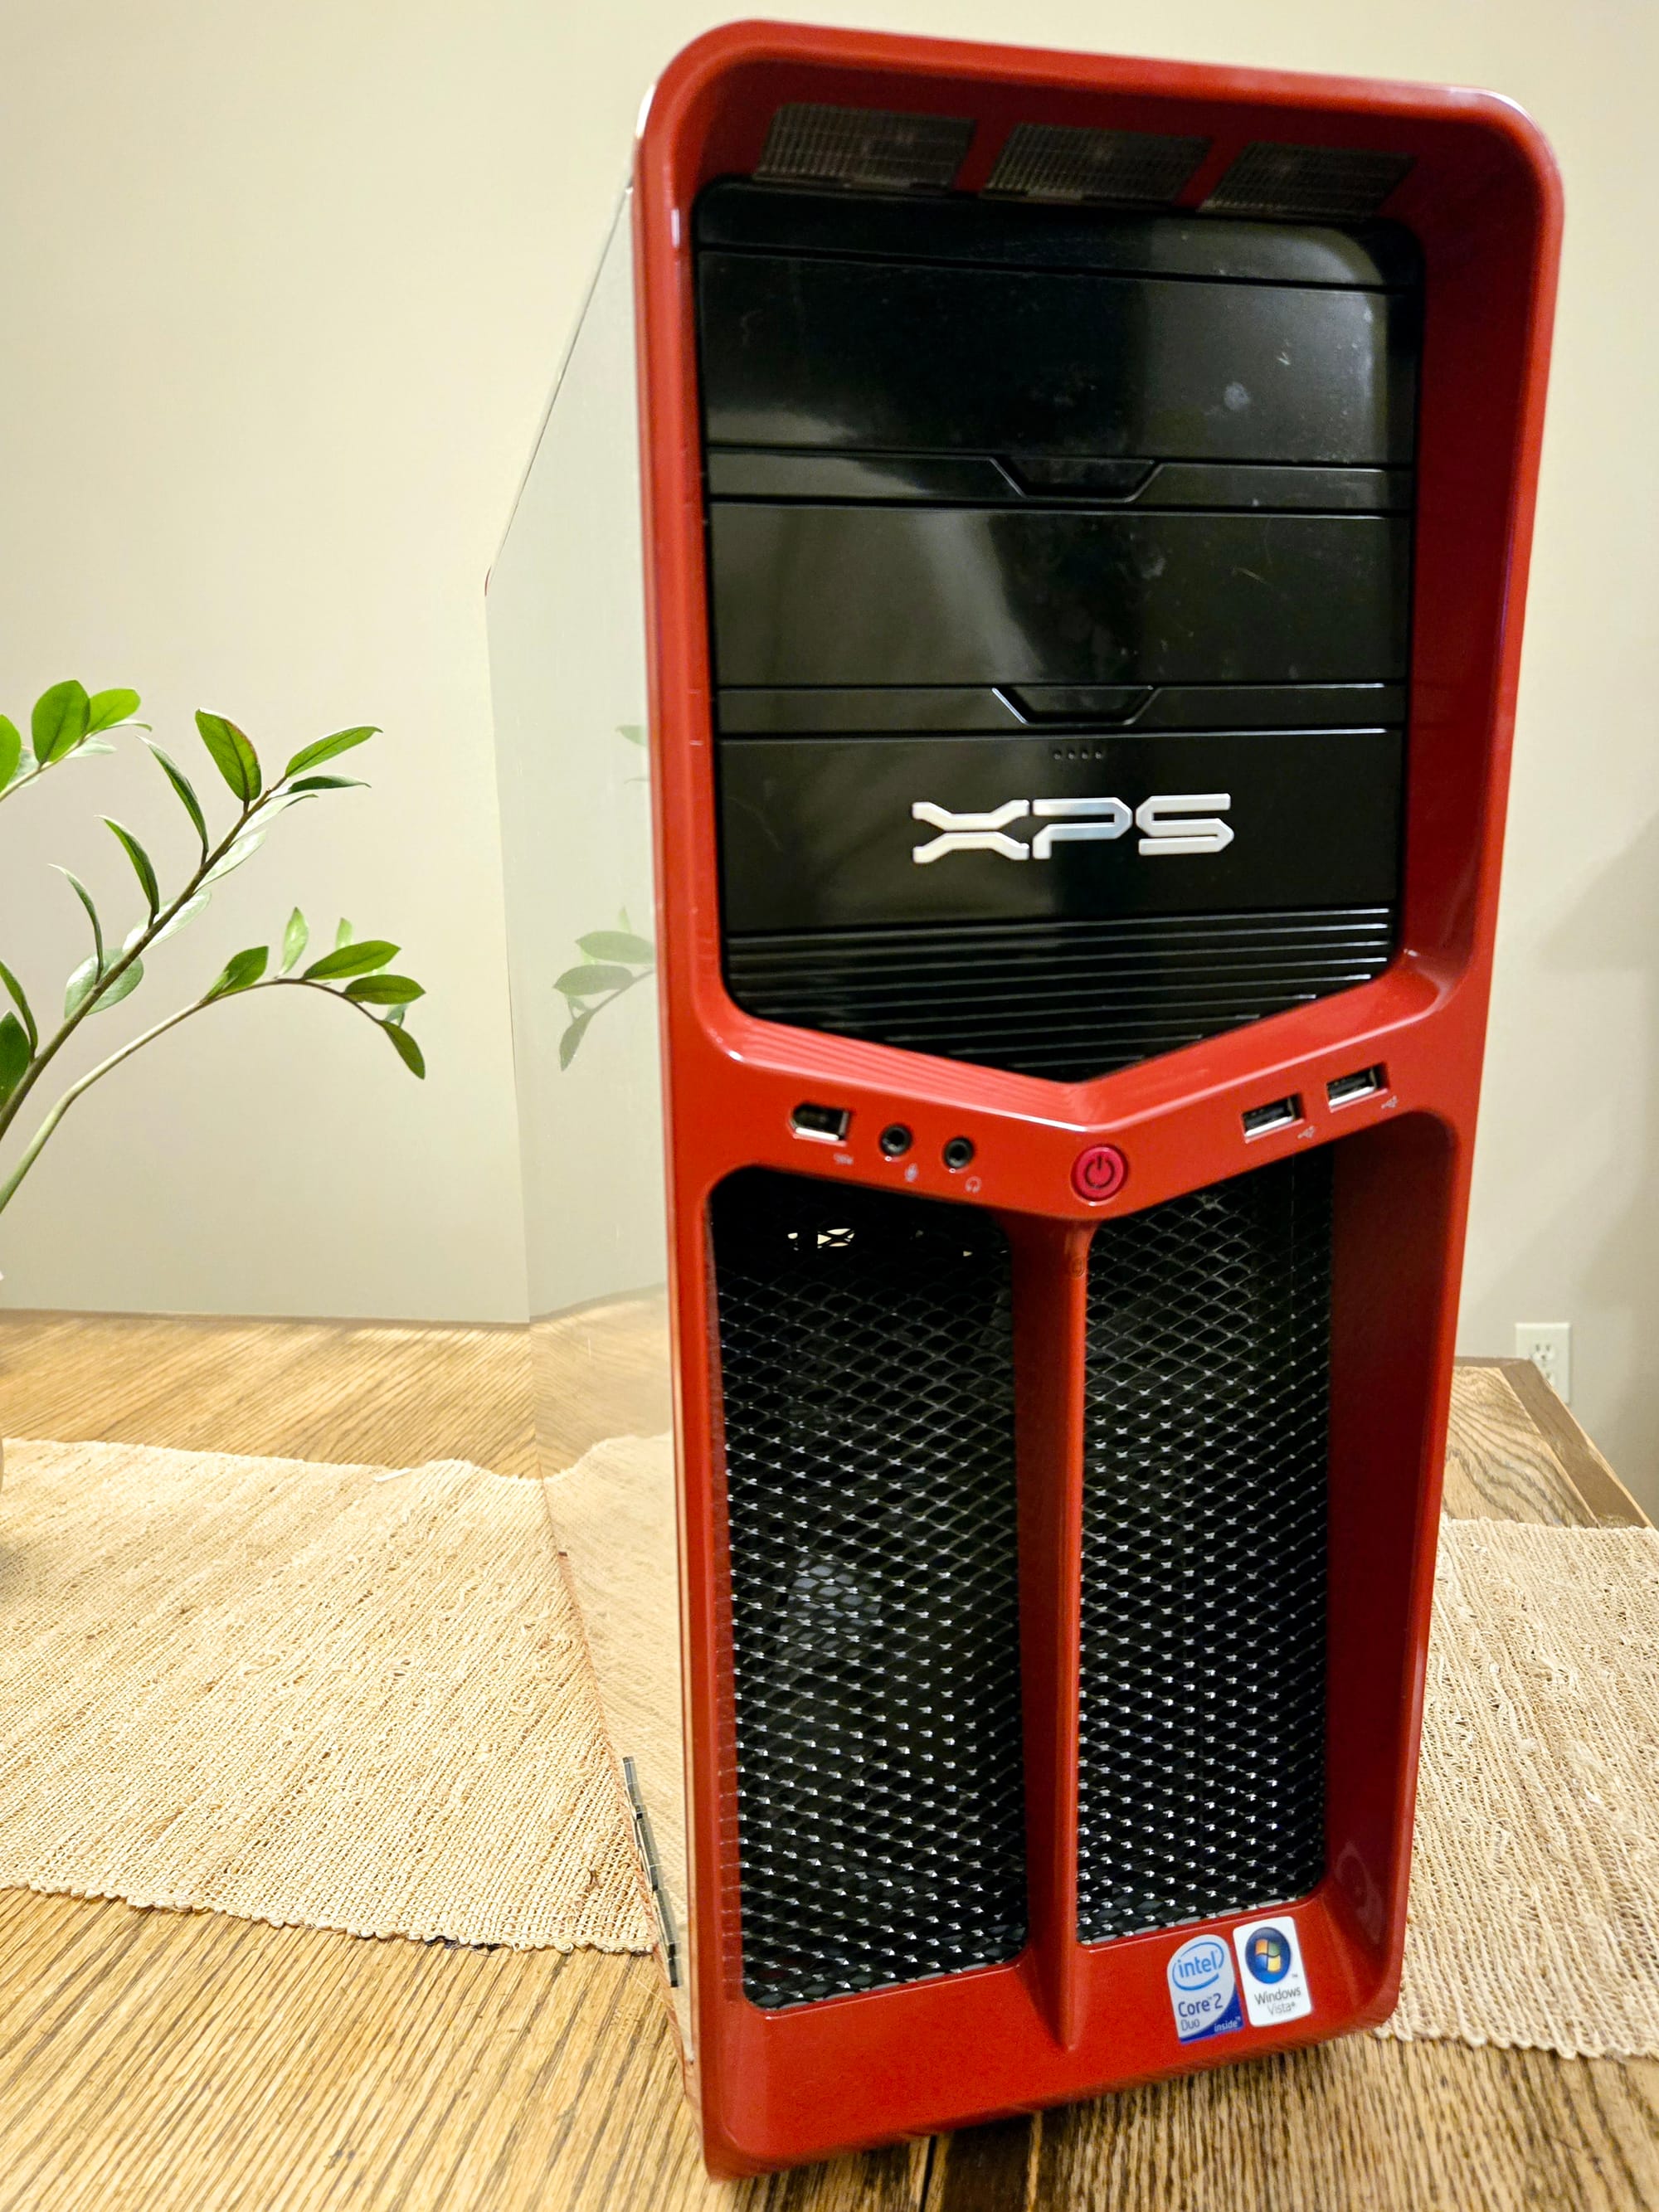
A Dell XPS 630i from 2008. I’ve always loved this case since its release. The inverted design and the latching side panel were a game-changer for me back then. How could I say no to that?!
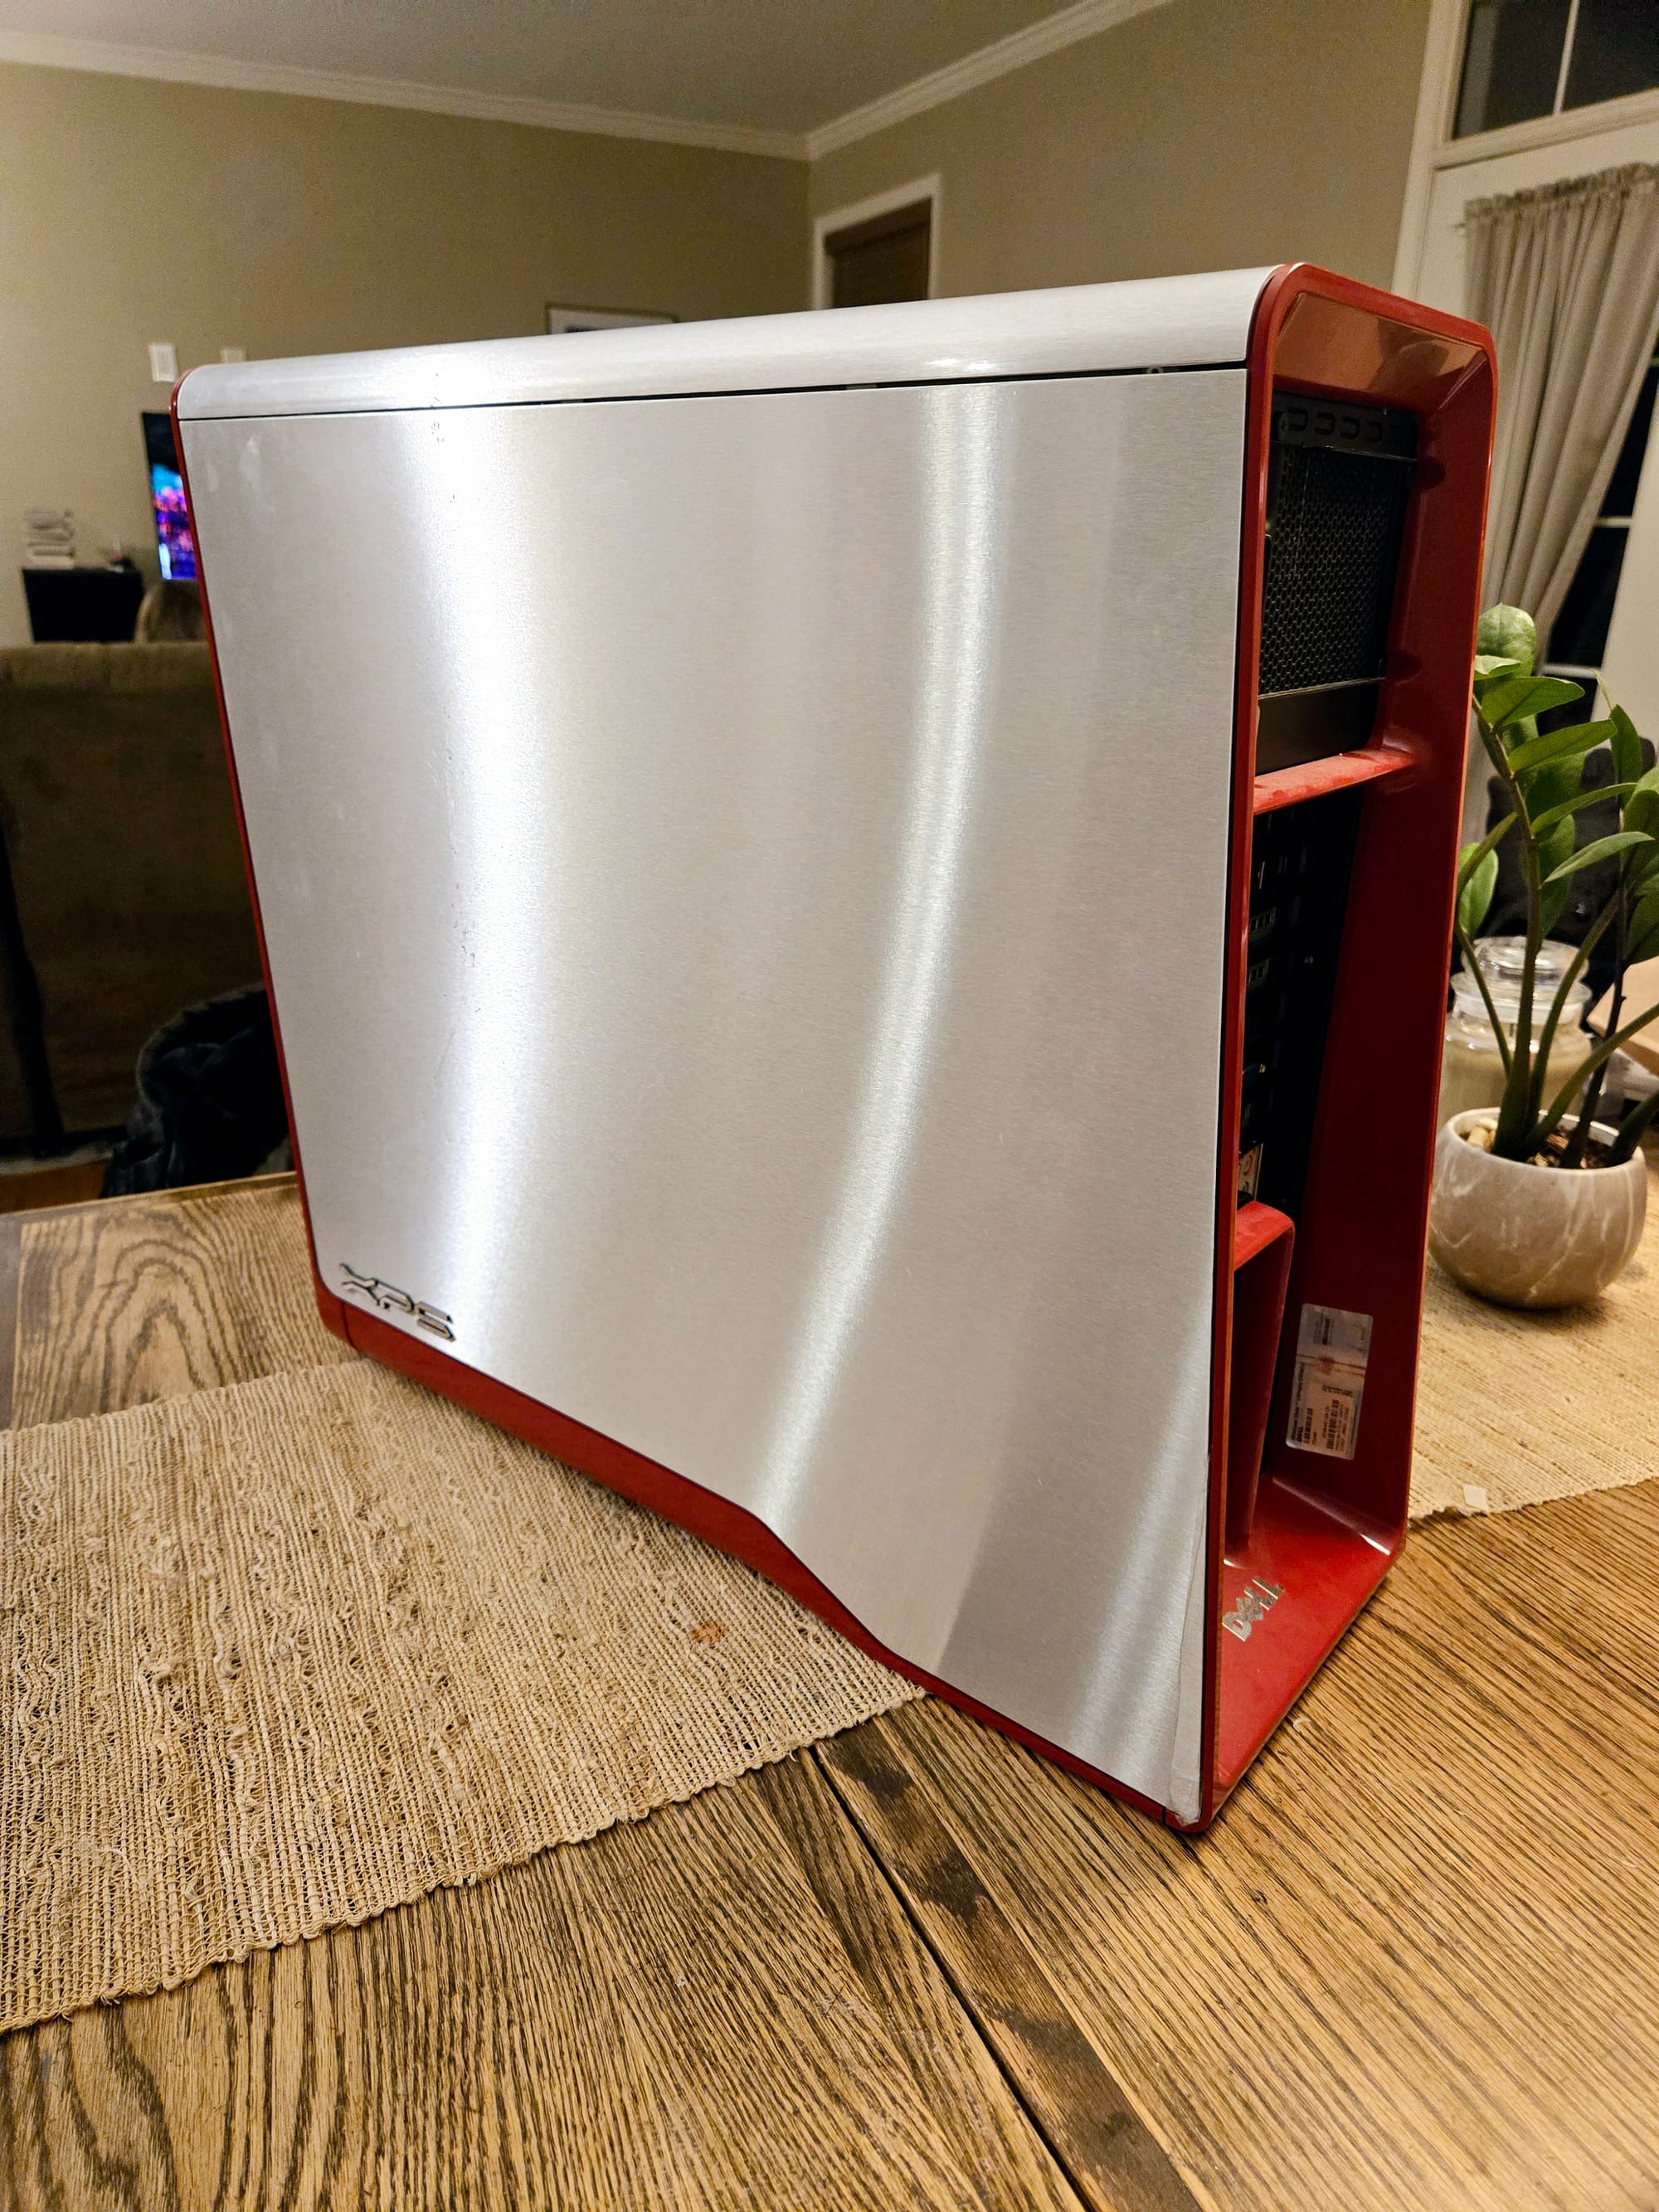
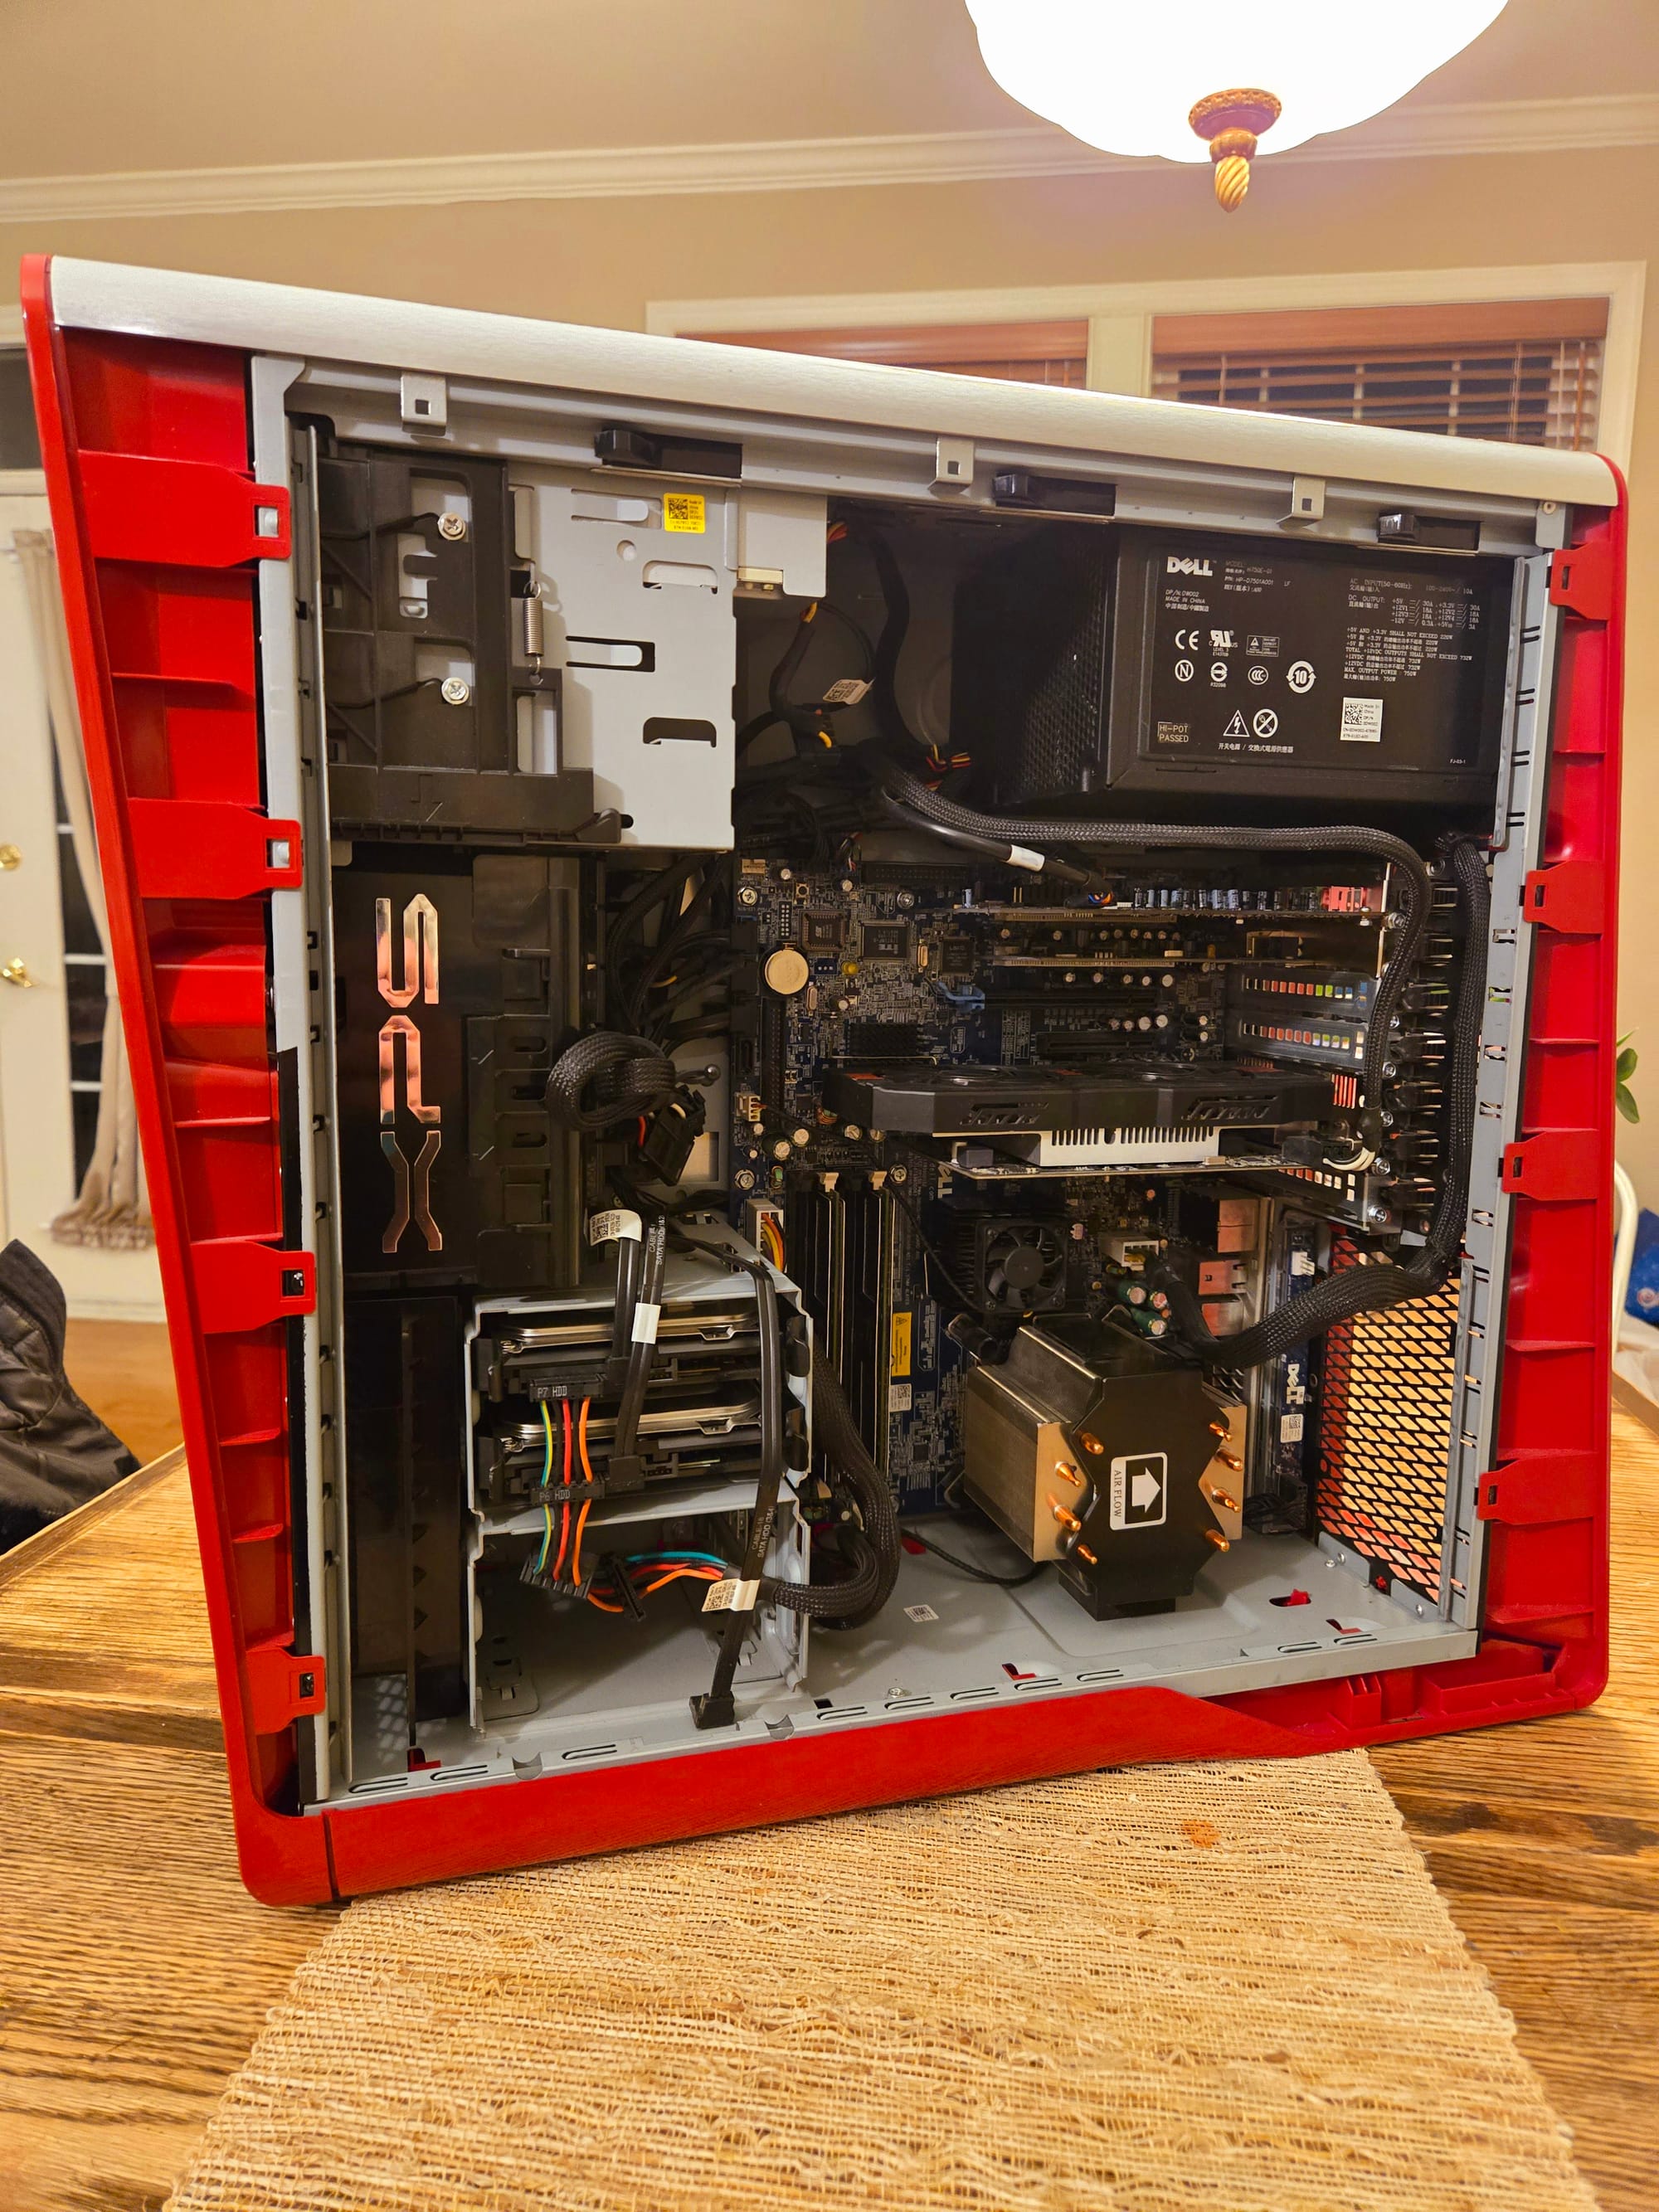
As you can see, it had an Intel Core 2 Duo sticker and a Windows Vista label, pretty standard for 2008. So, I opened it up to see what the actual specs were:
CPU: Core 2 Duo
RAM: 6GB (2x 2GB OCZ Fatal1ty, 2x 1GB Patriot)
Chipset: nVidia 630i SLi
GPU: OEM nVidia GTX 645 1GB
Network: Netgear Gigabit Network Card
Storage: 2x 1TB HDDs
Optical Drive: DVD-RW with LightScribe
Seems like this PC had a decent life—it had received upgrades like more RAM, larger hard drives, and a better GPU. But before trying to boot it up, I checked for capacitor issues, burnt spots, and reapplied thermal paste to the CPU and chipset.
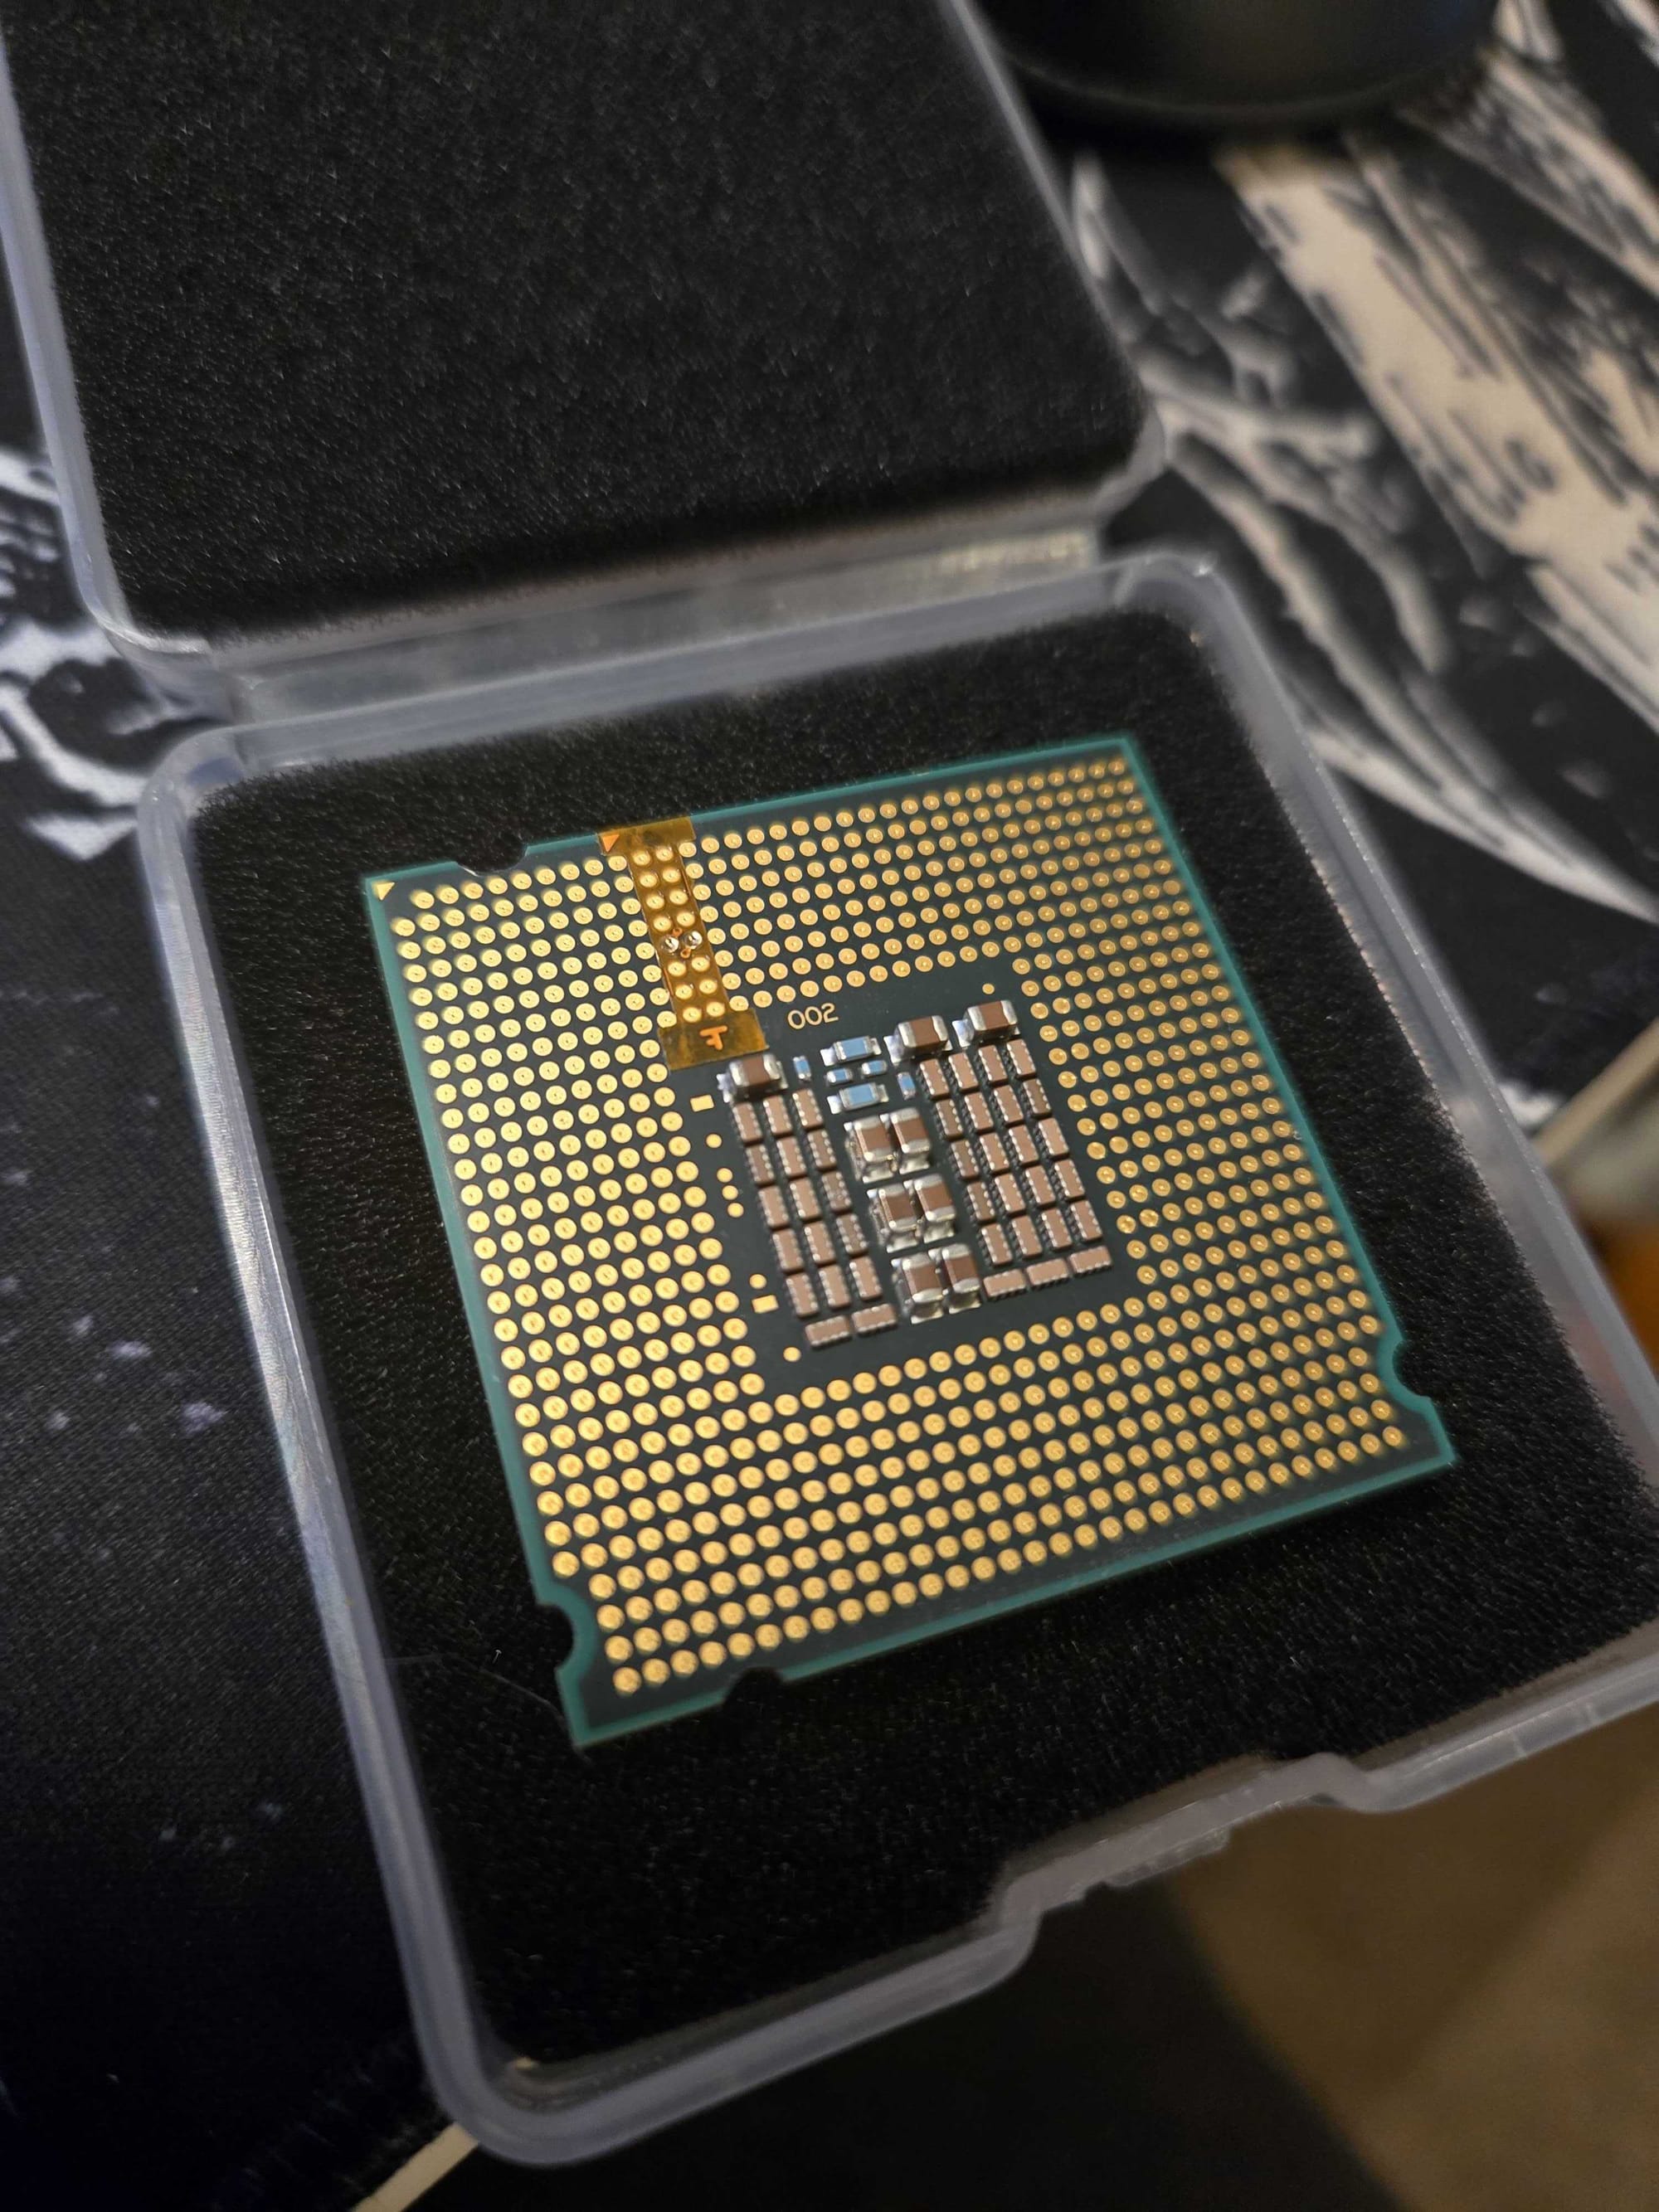
This is when things got interesting. While cleaning off the thermal paste from the CPU, I was a little confused. The case said "Core 2 Duo," but I found a Xeon E5440 instead! I wasn’t very familiar with Xeons from that era, so I did a bit of research. The Xeon E5440 is a Socket 771 processor, but the motherboard said Socket 775. I found out this was actually a common mod—enthusiasts would rotate the Xeon into the 775 socket, modify it by notching the CPU, and block off a few pins with Kapton tape. Apparently, it was a popular and cheaper way to get similar or better performance than the Core 2 Quad chips.
After two days of research and reassembling the machine, I was ready to boot it up. Everything seemed to be working fine. That’s when I decided to turn it into a Windows XP gaming machine since I still had all my original games. Sure, I could’ve bought the remastered versions of most of these games, but where’s the fun in that? Plus, some of these games wouldn’t even run on 64-bit systems. Time to secure a copy of Windows XP and get things rolling!
That’s when I realized that creating a bootable USB for XP was going to be more complicated than I thought. Most PCs these days don’t have CD/DVD drives anymore. I could’ve used one of the other PCs and burned a CD copy that way, but that seemed like too much work. I was worried for a second because all of my computers run Linux, then it hit me—I forgot that my wife’s PC still runs Windows. I quickly booted it up, created the USB with winsetupfromusb, and—success! The XPS booted up to the installer.
But that’s when the next issue popped up. The 630i chipset was too new for the stock XP ISO, so it wouldn’t detect the hard drives (error 0x0000007B). I had a few options: change the BIOS from AHCI to IDE (but Dell BIOS is pretty basic), inject the chipset drivers into the ISO, or grab a "special copy" of XP. I went with the latter, opting for Windows XP Integral Edition, which includes all the drivers and updates I’d need.
The XP install went smoothly, and I set up a RAID 0 array with the two 1TB hard drives. After that, I was finally on the desktop, but the trouble wasn’t over. I started installing drivers, and after getting sound and graphics working, the first BSOD appeared. Memory errors. I thought to myself, “Yep, that’s pretty normal.” But the BSOD kept happening—super frustrating. I reseated the RAM and swapped the OCZ RAM for just the Patriot sticks, but the issue persisted. I checked the BIOS, and sure enough, the RAM wasn’t running at the right voltage. After increasing it from 1.8V to 2.1V (as per the spec), things still didn’t work.
At that point, I almost gave up. But I thought, “What if it’s the CPU?” I grabbed a Core 2 Quad Q9400 on eBay for just $5 with free shipping (I almost got a Q9650, but it would've taken way too long to get here). The Q9400 was more than enough for XP-era games. While I was on eBay, I also grabbed a Microsoft Ergo keyboard, a Logitech MX518 mouse, a Creative X-Fi Extreme, and a set of Harman/Kardon speakers. But there was one thing missing: a CRT monitor.
I immediately thought of my dream monitor from back in the day—the 21-inch Sony Trinitron. I was shocked when I saw the prices—some were going for $3,000–5,000. I wasn’t about to drop that kind of cash, so I turned to Facebook Marketplace. After a few days, I found a 19-inch ViewSonic E790B for $50 (an absolute steal), which was perfect.
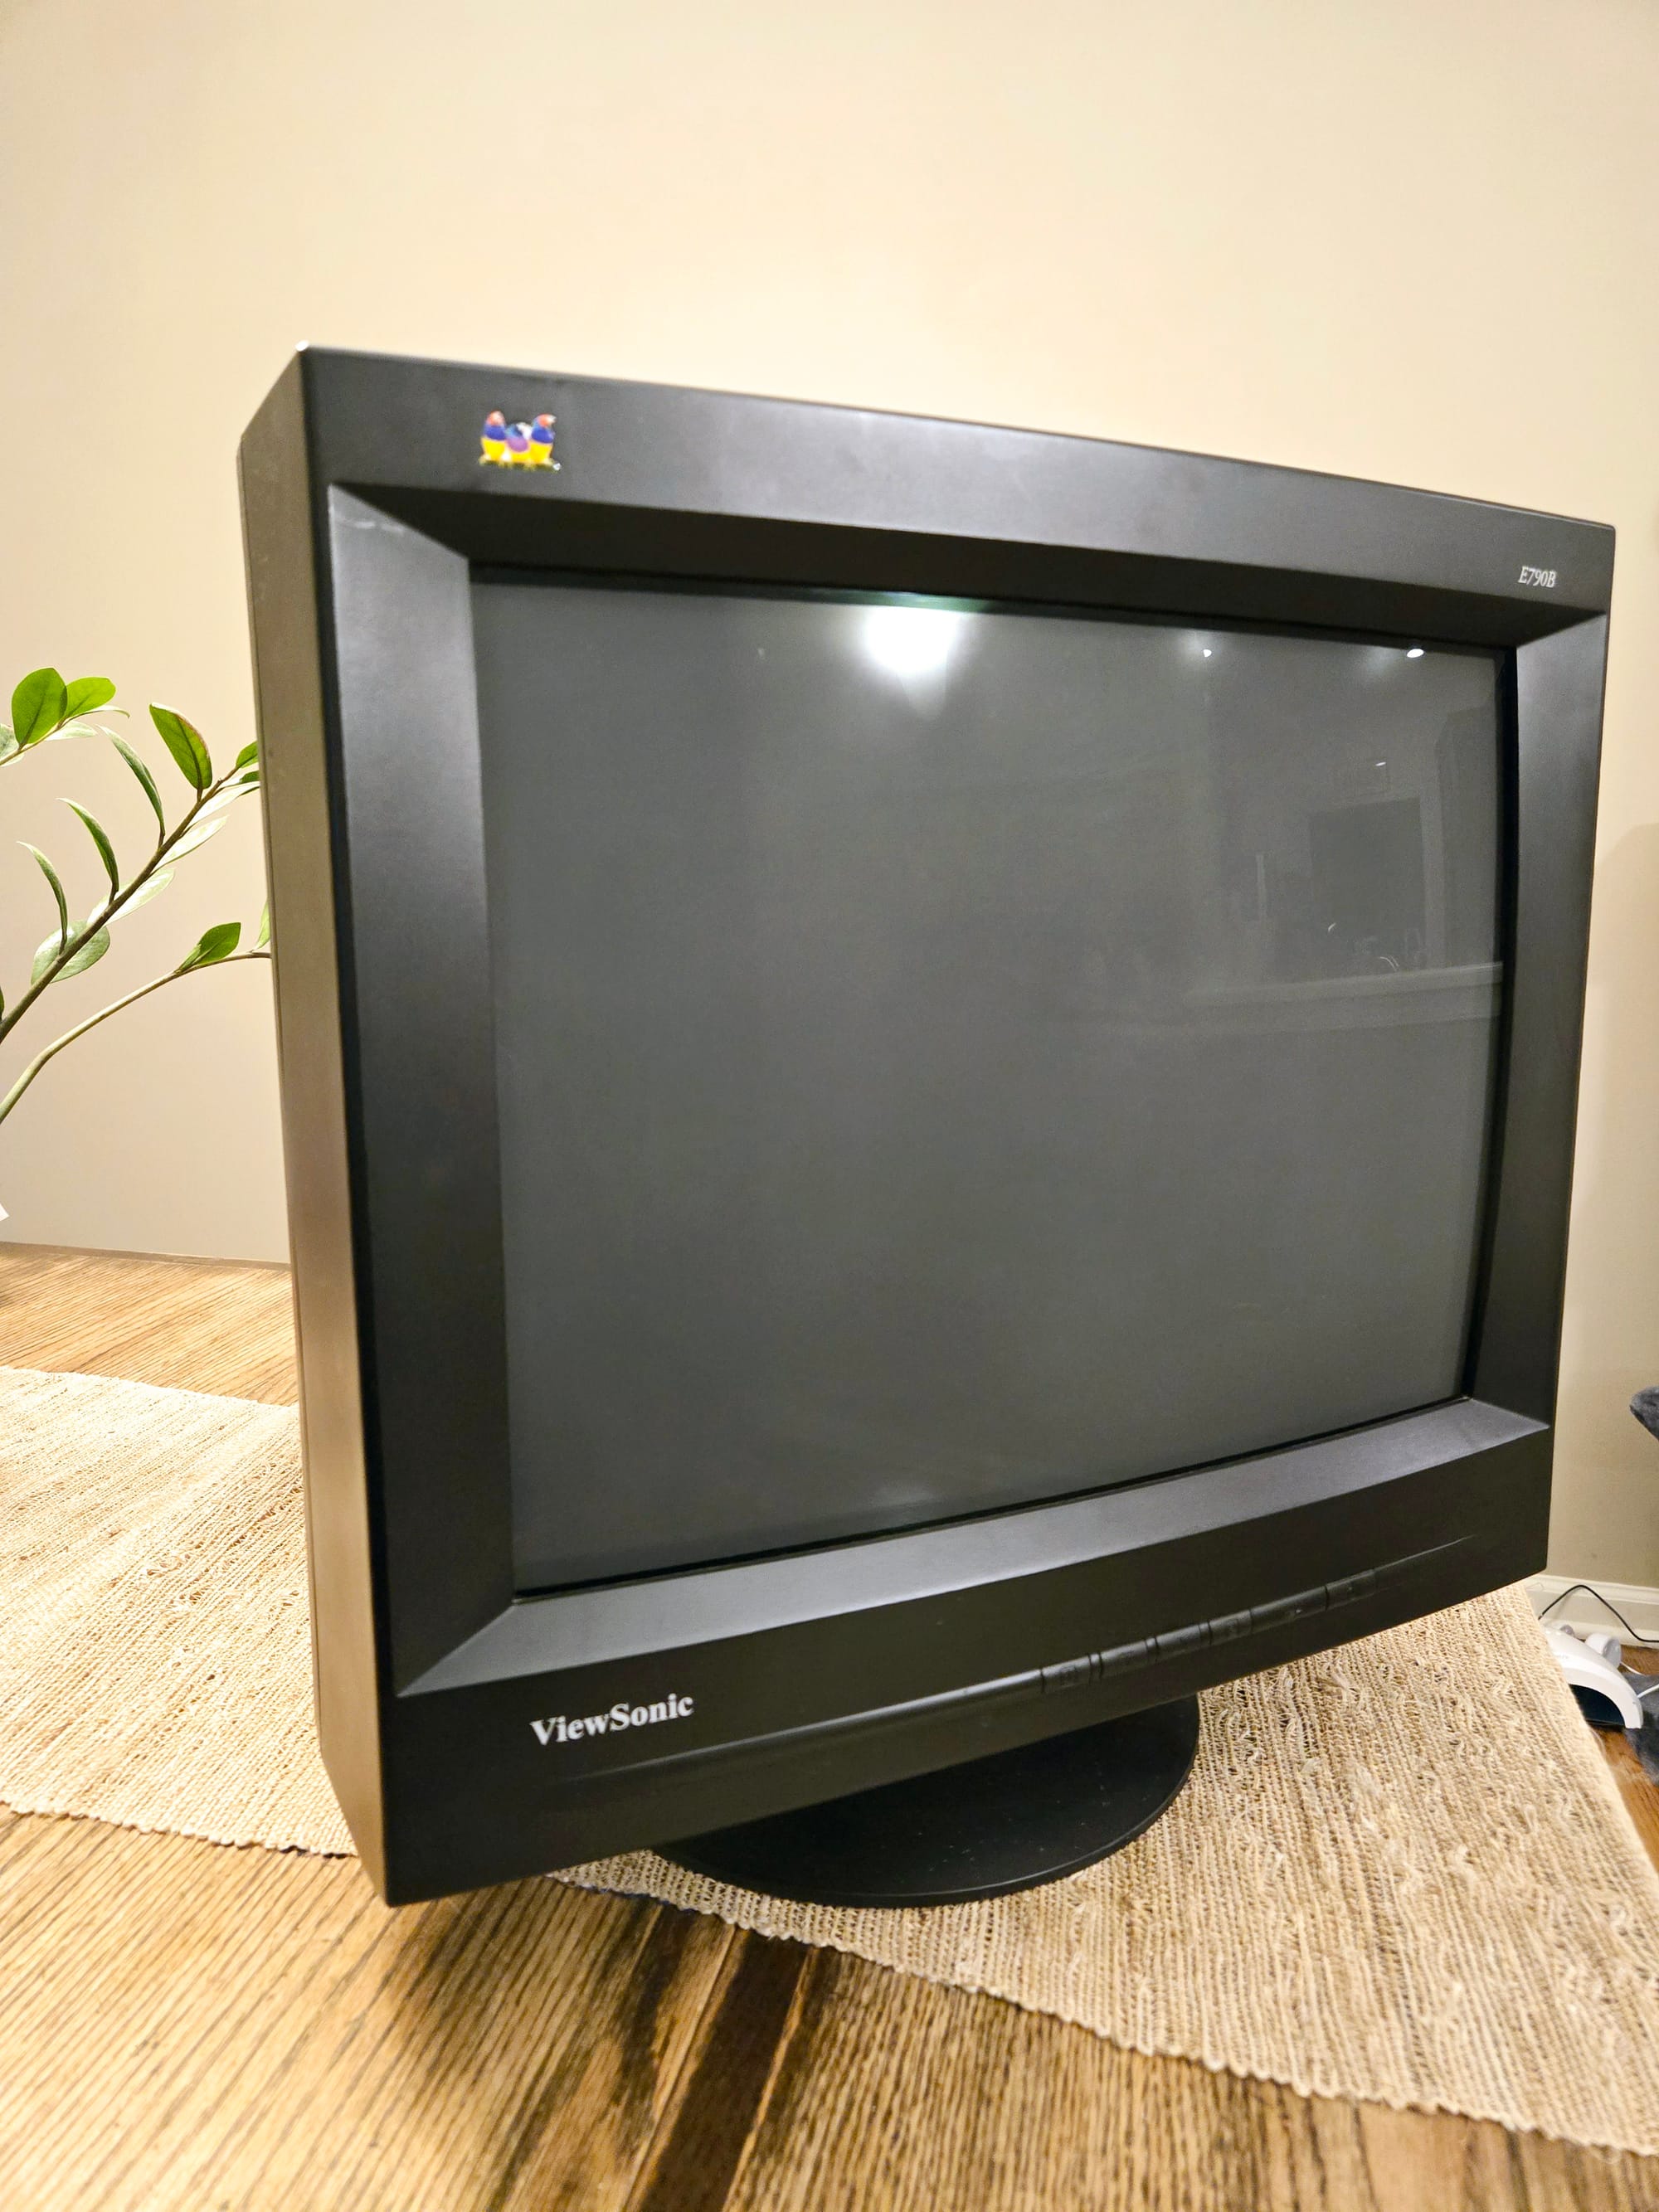
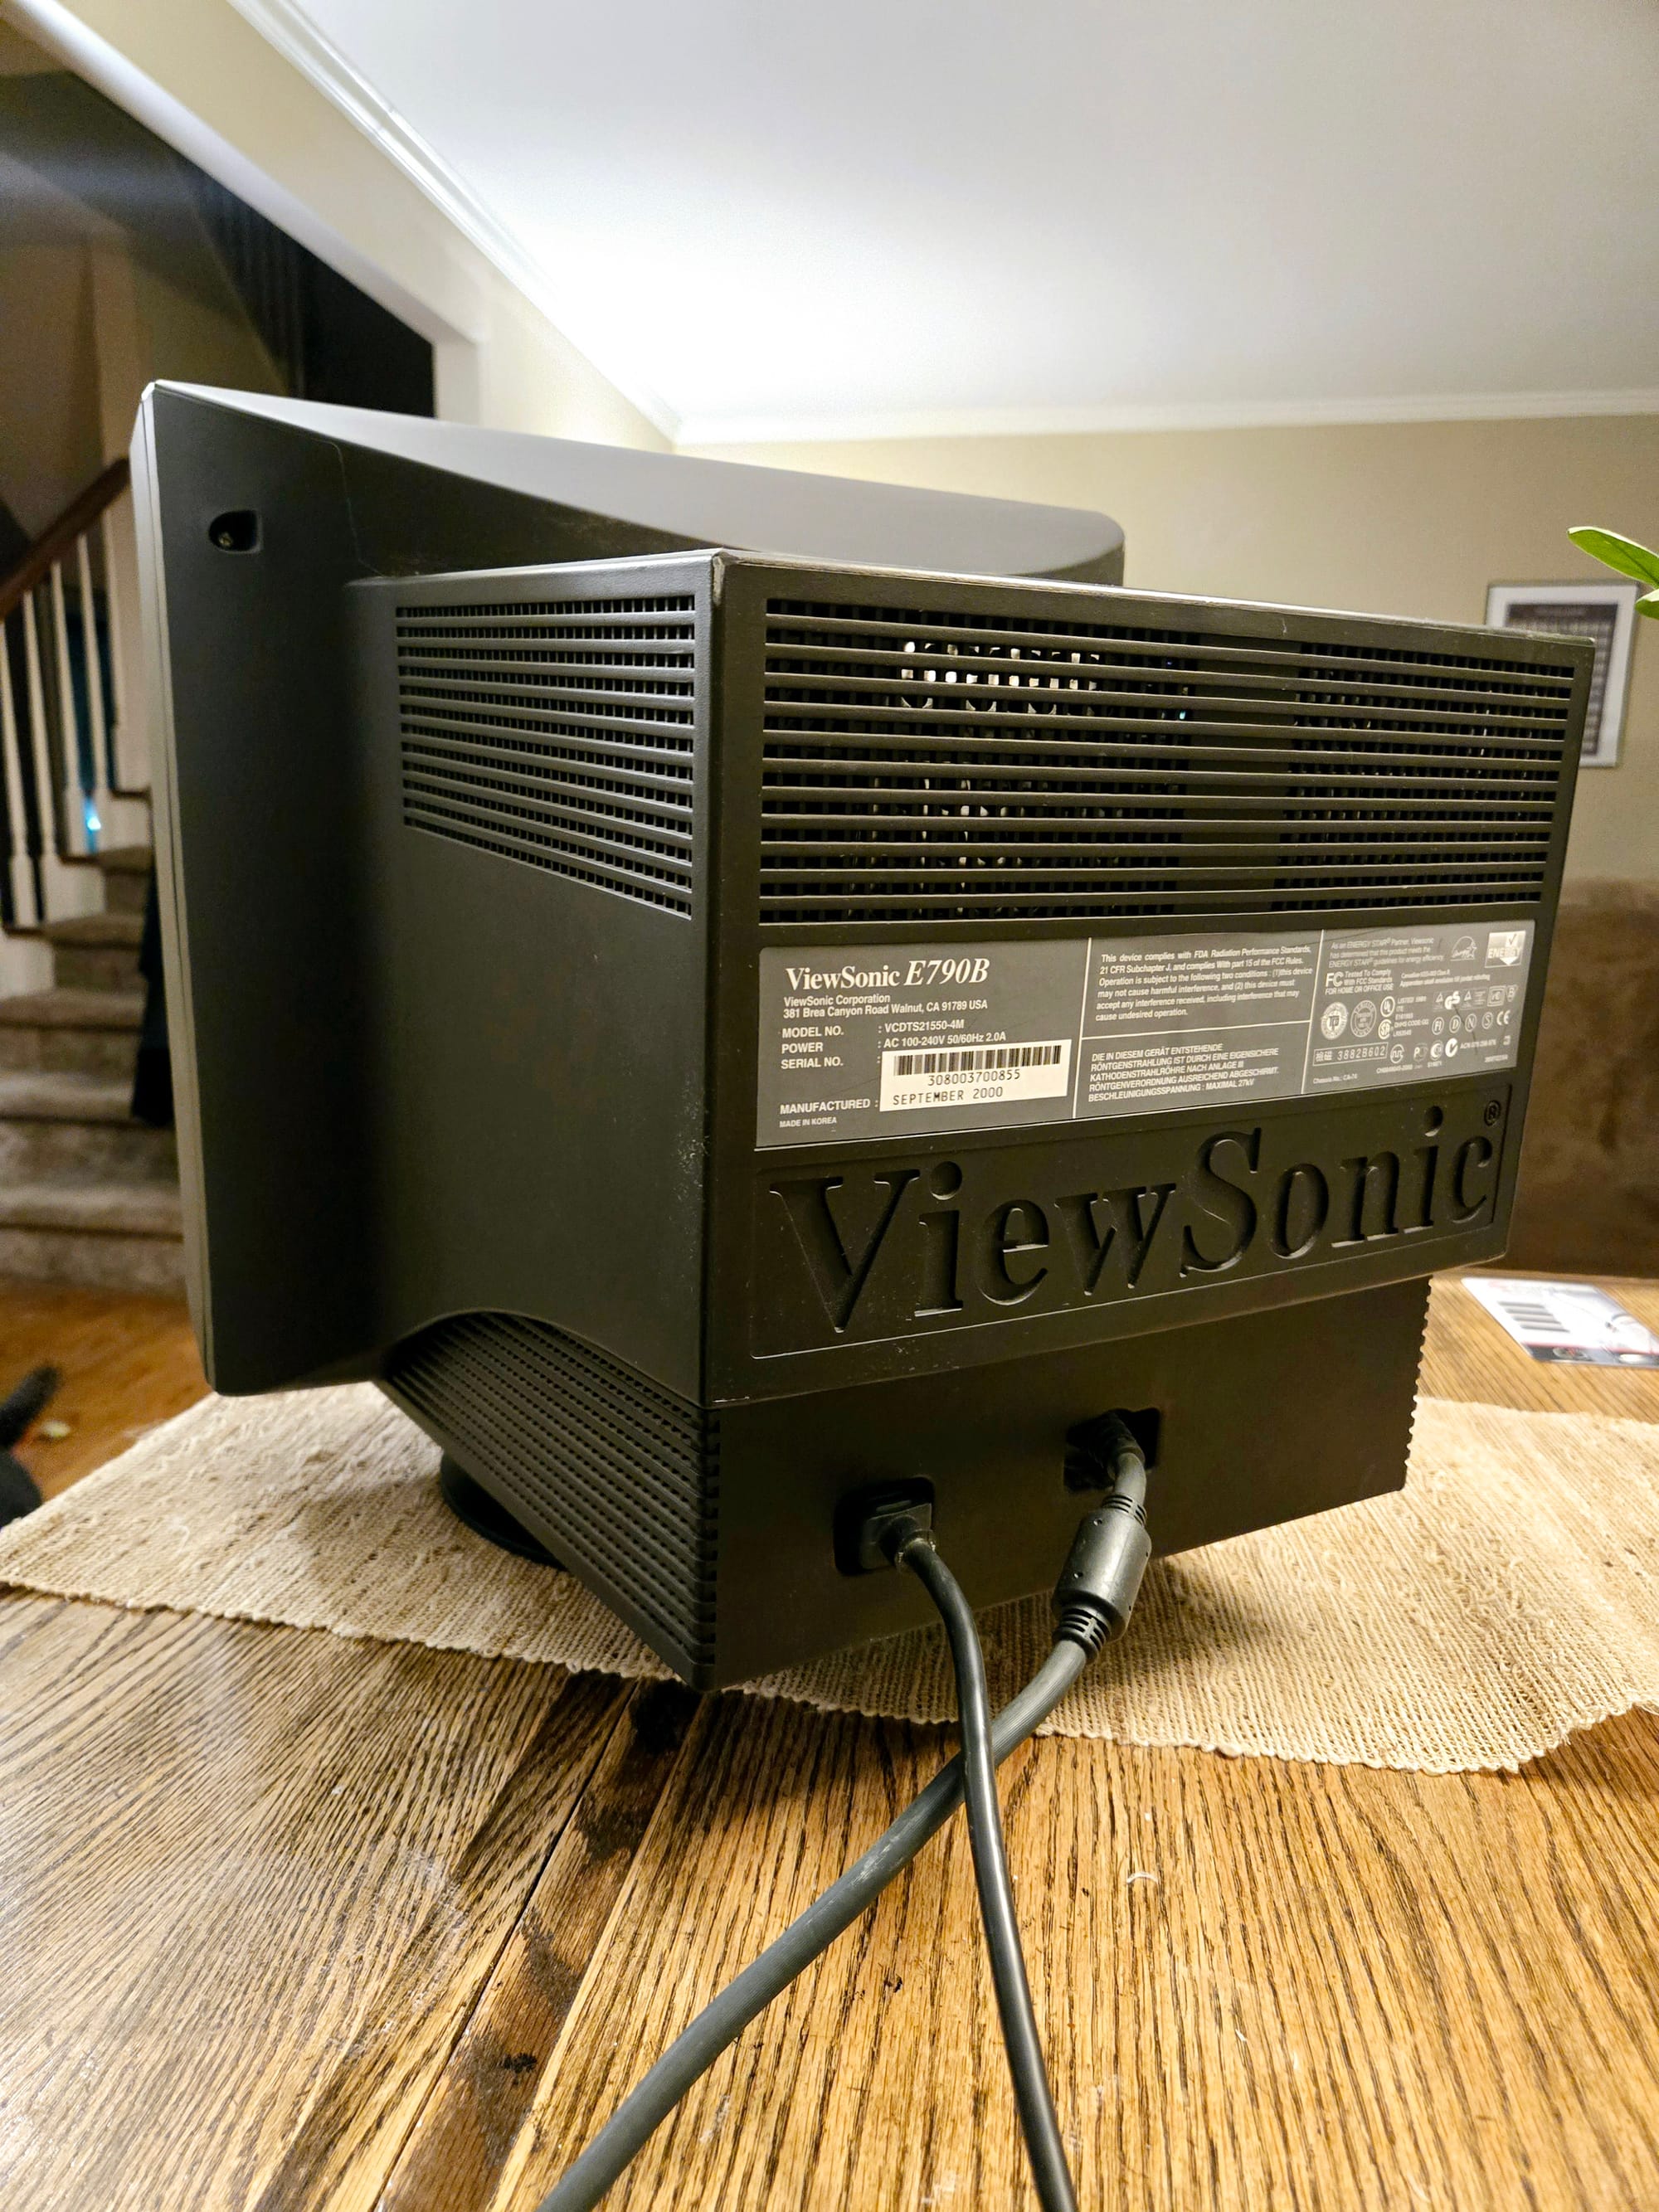
I picked it up locally and also grabbed a GTX 750 Ti for cheap. Then I waited for my eBay order to arrive, which took about three weeks. When it finally came, I swapped the CPU, and—no more blue screens! Turns out, you need to install the Xeon microcode or suffer memory stability issues when doing the 771 to 775 mod. The Q9400 was the easier solution.
Finally, it was time to install some games. I’ve got a few of my favorites running:
UT2004
Morrowind
Fallout 3
The Sims 2
Black & White 2
Warcraft 3
Crysis (yes, it runs!)
I still need to grab the rest of my games from storage, but for now, these are a great start.
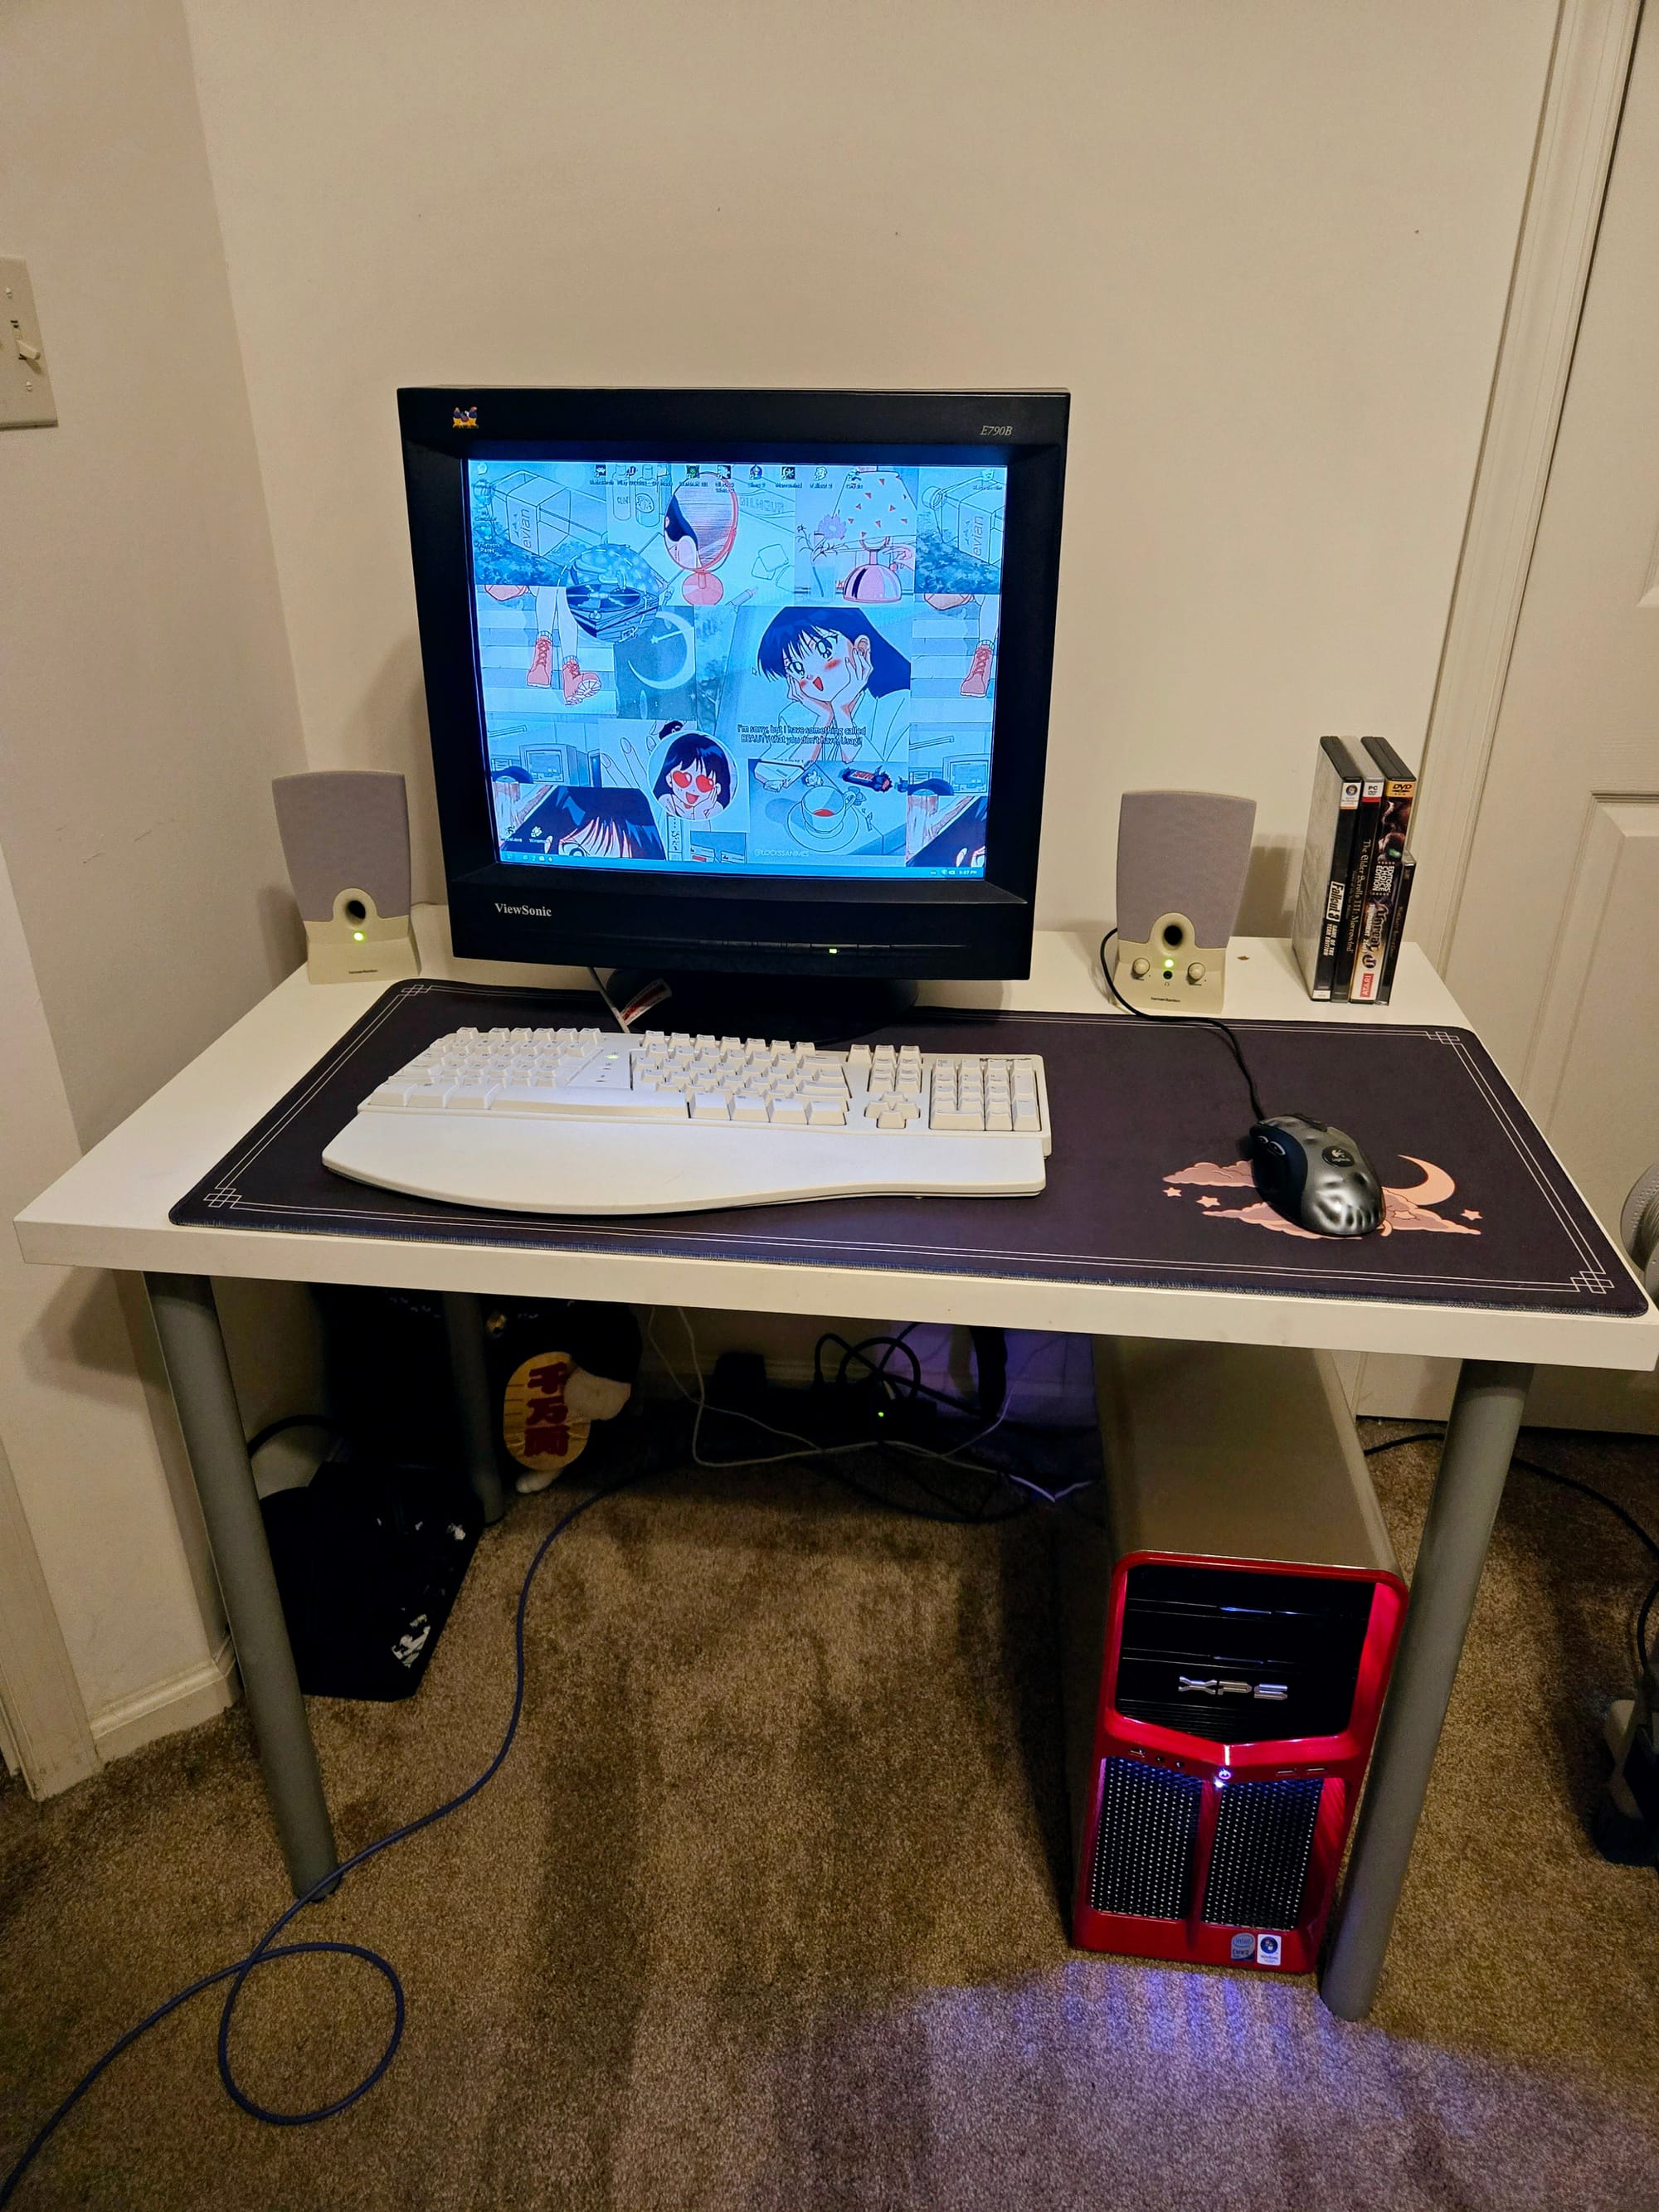
Final Specs:
CPU: Core 2 Quad Q9400
RAM: 4GB OCZ Fatal1ty
GPU: GTX 750 Ti 2GB
Storage: 2x 1TB in RAID 0
For about $200, some cleaning, and a few troubleshooting hours, this has been totally worth it. I’ve been spending hours with this setup, and it’s been an absolute blast—really taking me back to my childhood gaming days.
